Quick answer
Bleeding a hydraulic system means purging all the air trapped in the pump, lines, cylinders and motors after a repair. Work in order from the pump outward: prime the pump case with oil, loosen the bleed plugs so air escapes, then cycle the cylinders and turn the motors slowly to purge it. Clearing all the air before loading the machine prevents cavitation damage to the rotary group.
Bleeding the hydraulic system is a required step after every pump removal, seal change or pipe opening on an excavator. With air still in the oil, the machine jerks, the force flickers and the pump runs louder than normal — left alone, it damages the rotary group. This guide moves from how air gets in, to the warning signs, to bleeding each unit in turn: main pump, pilot pump, cylinders and motors. The aim is to push every bubble out of the system safely, in the right order, before you put the machine under load.
What does bleeding a hydraulic system mean?
Bleeding — purging air or priming — means removing the air trapped in the pump, lines, cylinders and motors after the system has been opened. Hydraulic oil is nearly incompressible, so it transfers force almost instantly. Air is the opposite; it compresses and expands hard. A single small pocket of air in a line is enough to make a function jerk and lose force. So after any repair, bleeding is a step you do not skip. Done right, the machine runs smooth at once; done carelessly, the pump pays the price first.
Why does air get into a hydraulic system?
Air enters along a few familiar paths:
- After removing the pump, changing the rotary group or opening a line, the empty pump case and pipes are full of air.
- A low oil level in the tank uncovers the suction pickup, drawing in air with the oil.
- A hardened or leaking shaft seal or suction gasket lets air in on the intake stroke.
- Right after a cylinder seal change, air is still trapped inside the barrel.
- Pouring new oil too fast makes foam in the tank that has not settled.
Knowing the real entry paths lets you bleed the right spot instead of guessing unit by unit.
Signs the system still has air
When air remains, the machine tells you clearly:
- Boom, arm and bucket jerk and stall in steps instead of moving smoothly.
- The pump rattles or whines, worst right after start-up.
- The pressure gauge needle swings and force rises and falls unevenly.
- The oil foams white in the tank, with bubbles visible through the sight glass.
- Cylinders feel "soft", hold load poorly and drift slightly when stopped.
Seeing these right after a repair almost always means trapped air, not a new fault.
How dangerous is air in the oil for the pump?
This is the question new mechanics take too lightly. An air pocket passing through the pump is compressed then collapses suddenly, causing cavitation — tiny bubbles imploding and eroding the metal. The valve plate, shoes and pistons pit over time, clearances grow, and the pump leaks internally and weakens. Air also heats the oil fast, speeding oxidation and sludge. Left long enough, this chain leads straight to a weak hydraulic pump and costly overhauls. In short: air is a quiet wrecker, and bleeding is how you stop it early.
When do you need to bleed the hydraulic system?
Not always, but there are mandatory points:
- After replacing or overhauling the main pump or pilot pump.
- After reseating seals or overhauling a cylinder or motor.
- After changing a high-pressure line, suction hose or fitting.
- After changing the oil, flushing the tank or swapping a large filter.
- When the machine has sat idle long enough for oil to drain from the pump.
Any time the system is opened, bleeding before heavy load is the default.
Preparing before you bleed
Good preparation makes bleeding fast and safe:
- Park on level ground, lower the bucket to the ground, set the safety lock.
- Fill with the correct oil to the right level on the sight glass; use clean oil.
- Have rags, a drip tray and the maker's manual for the exact model ready.
- Loosen, but do not fully remove, the bleed plugs so they reseat easily.
- Make sure the battery is strong enough to crank the engine for several bursts.
Never start the engine with the pump dry — that is the fastest way to ruin it.
Tools and materials you need
The kit for a bleed job is simple:
- Wrenches and sockets that fit the bleed plugs and line unions.
- Clean hydraulic oil of the right grade, usually VG 46 or VG 68 by climate.
- A hand primer or funnel to fill the pump case.
- Clean rags, a drip tray and gloves.
- A pressure gauge if you want to check afterwards.
If you are short of hydraulic-pump parts such as gaskets, seals or spare bleed plugs, have them ready before you start.
7 correct steps to bleed a hydraulic system
The general procedure fits most excavators:
- Fill the pump case with clean oil (prime it) through the top plug before starting.
- Loosen the bleed plug on the pump and high-pressure line so air and foamy oil escape.
- Crank the engine in short bursts without firing, if the machine allows, to push air out.
- Start and idle low, no throttle, and hold for a few minutes to circulate the oil.
- Gently run each cylinder through its full stroke a few times to purge air from the barrel.
- Swing and travel slowly back and forth to bleed the motors.
- Retighten the bleed plugs, check the oil level and top up.
Work in order from the pump outward, and do not rush the throttle while the system still holds air.
Bleeding the main pump (priming) correctly
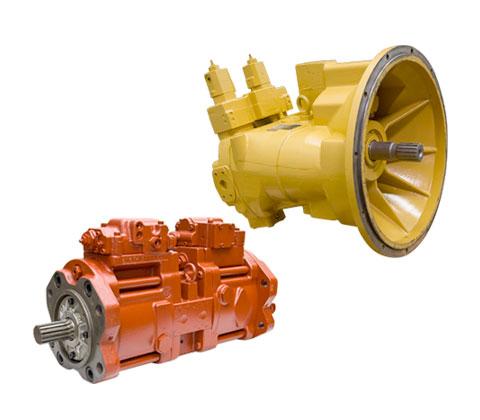
The main pump is handled first and most carefully. Before starting, open the plug on the pump body and fill the case with clean oil until it overflows without bubbles. This priming protects the valve plate and shoes from running dry in the first seconds. Then crack the high-pressure union slightly, crank or idle low, and let air escape with the oil. When the oil flows out steadily with no more hissing of air, retighten. Never raise the throttle while the pump still holds air, because that is when cavitation is worst.
Bleeding the pilot pump and control lines
The pilot pump is small but commands the whole system. With air in the pilot line, valves open and close erratically and the controls feel heavy and slow. Bleed the pilot by loosening the plug on the pilot valve block or at the test port, letting air escape, then retighten. Then work each control lever through its full stroke several times to push pilot-line air back to the tank. Pilot pressure must reach the maker's spec for the model for the controls to feel light and crisp.
Bleeding the bucket, arm and boom cylinders
A cylinder always traps air after service. The simple, effective way to purge it is to run each ram through its full stroke, slowly and evenly, several times. The air gathers toward the oil port and returns to the tank. Start with the highest cylinder so air rises and escapes easily. Work at low engine speed and avoid sharp jerks that whip the air into a fine foam that is hard to remove. After a few cycles, the motion loses its jerk and firms up again.
Bleeding the swing and travel motors
The swing and travel motors also hold air after service. For the swing motor, swing slowly back and forth a few turns so air leaves through the return line. For the travel motors, jack up the tracks or inch the machine forward and back slowly so both sides bleed. Some models have a dedicated bleed plug on the motor housing — open it to release air, then retighten. Slow and even is the rule for every unit.
Quick table: where to bleed by unit
| Unit | How to bleed | Sign it is air-free |
|---|---|---|
| Main pump | Prime the case, crack the HP union | Oil flows steady, no air hiss |
| Pilot pump | Loosen plug, full-stroke the levers | Controls light and crisp |
| Cylinder | Full stroke several times | No jerk, holds load firmly |
| Swing motor | Swing slowly back and forth | Smooth swing, no stall |
| Travel motor | Inch forward and back both sides | Even travel, no shudder |
This table keeps you from missing a unit when you bleed the whole system.
Bleeding after a pump change or rotary-group overhaul
After fitting new hydraulic rotary groups or a new pump, the case and lines are completely empty. This is the job that needs the most careful priming and bleeding. Always fill the pump case with clean oil before starting, and run the machine unloaded for a while before working. If you have just done a big job like a K3V112 pump overhaul, give extra time to bleeding and watch the oil temperature in the first hour. A new pump run dry for a few seconds is ruined work.
Bleeding after a cylinder seal change
After reseating the seals, a cylinder still holds a lot of air. Once you have reassembled it correctly per the replace a cylinder seal guide, run the ram through its full stroke a few times at low speed to purge the air. A cylinder with air drifts slightly under load and is easily mistaken for a badly fitted seal. Purge all the air first, then judge whether the seal holds. Do not conclude anything while the system still has air.
Common mistakes when bleeding
A few errors waste the whole job:
- Revving the engine while the pump still has air, cavitating and pitting the valve plate.
- Forgetting to prime the pump case before cranking, so the pump runs dry.
- Not rechecking the oil level after bleeding, letting it drop and uncover the suction.
- Missing a unit, often a motor or the pilot, so the machine still jerks slightly.
- Pouring oil too fast and making fresh foam that never clears.
Avoid these and you bleed the system clean in one pass.
Tips for fast, safe bleeding
A few workshop tips save time:
- Bleed from the inside out: pump first, then valves, cylinders, motors last.
- Work at low engine speed and move slowly so air separates from the oil.
- Rest the machine a few minutes between bursts so tank foam settles.
- Start from the highest point of the system so air rises easily.
- Be patient: bleeding takes time and should not be rushed.
Checking after you finish bleeding
Bleeding is not done until you verify it:
- Run the machine unloaded, listen for a smooth pump with no rattle.
- Cycle each cylinder; it should move smoothly and hold load firmly.
- Look at the sight glass; the oil should be clear with no white foam.
- Check for leaks at the bleed plugs and unions you just tightened.
- Top up the oil to level once all the air has escaped.
Run a light test for a few minutes before handing the machine to heavy work.
Maintenance to limit air getting in
Prevention beats cure. A few habits keep air out:
- Keep the oil level up so the suction pickup never gets uncovered.
- Replace the shaft seal and suction gasket when they start to harden.
- Torque the suction fittings correctly so no air leaks in.
- Pour oil slowly to avoid making foam in the tank.
- Change oil and filters on schedule by machine hours, for example at 500 or 1000 hours per the recommendation.
When should you take the machine to the workshop?
If you have bled it by the book and the machine still jerks, rattles and foams, the problem is no longer air. Then suspect a leaking shaft seal, a cracked suction pickup, or a rotary group worn enough to leak internally. These need pressure testing and teardown in a clean environment, not a field fix. Getting it to the workshop early is far cheaper than letting the pump fail further.
When you need genuine, replacement or used hydraulic-pump parts for repair and bleeding work, send the machine model or pump code and the Việt Trung Hải technical team will match the exact part. For the bleeding procedure and standard pressure specs for each model, refer to the maker's own documentation such as Komatsu to get the right number for your machine.
Key takeaways
- Bleeding the hydraulic system is required after every pump removal, seal change or pipe opening.
- Oil is incompressible but air is not, so one small pocket makes the machine jerk and lose force.
- Always prime the pump case with clean oil before starting to avoid a dry run.
- Bleed in order from the inside out: main pump, pilot pump, cylinders, then motors.
- Air causes cavitation that erodes the rotary group, leading to a weak pump and costly overhaul.
- After bleeding, recheck the pump noise, cylinder smoothness and foam in the tank.
Written by
Lê Minh Tuấn
Lê Minh Tuấn handles scheduled maintenance and machine longevity at Việt Trung Hải. He writes about oil, filters, service intervals and the habits that keep machines running reliably.
Related parts
The exact parts discussed above — send your machine model or pump code to match.
Related products
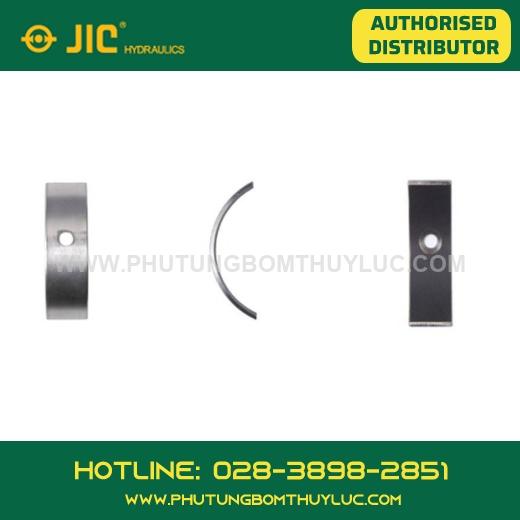 Kayaba (KYB) · PSVBushing – Kayaba PSVD2-17PSVD2On requestView · get a quote
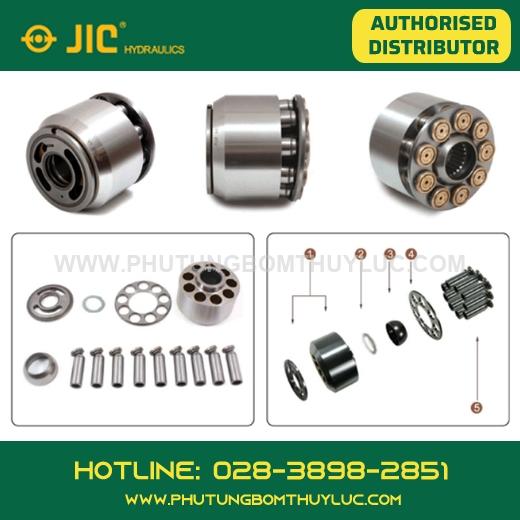 Kayaba (KYB) · PSVRotary group – Kayaba PSV2-55TPSV2On requestView · get a quote
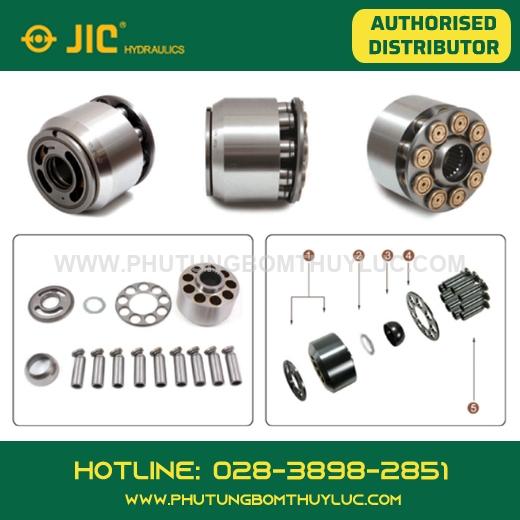 Kayaba (KYB) · PSVRotary group – Kayaba PSV2-60TPSV2On requestView · get a quote
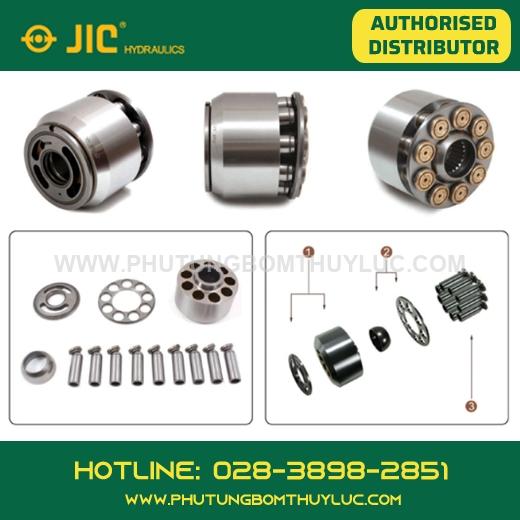 Kayaba (KYB) · PSVRotary group – Kayaba PSV2-63TPSV2On requestView · get a quote