Quick answer
Replacing an excavator cylinder seal takes nine steps: relieve pressure, remove the cylinder, pull the rod-piston assembly, strip the old seals, clean and inspect the rod, fit the new seals the right way round, reassemble and bleed. The key is checking the rod is not scored, because a scored rod cuts a new seal fast.
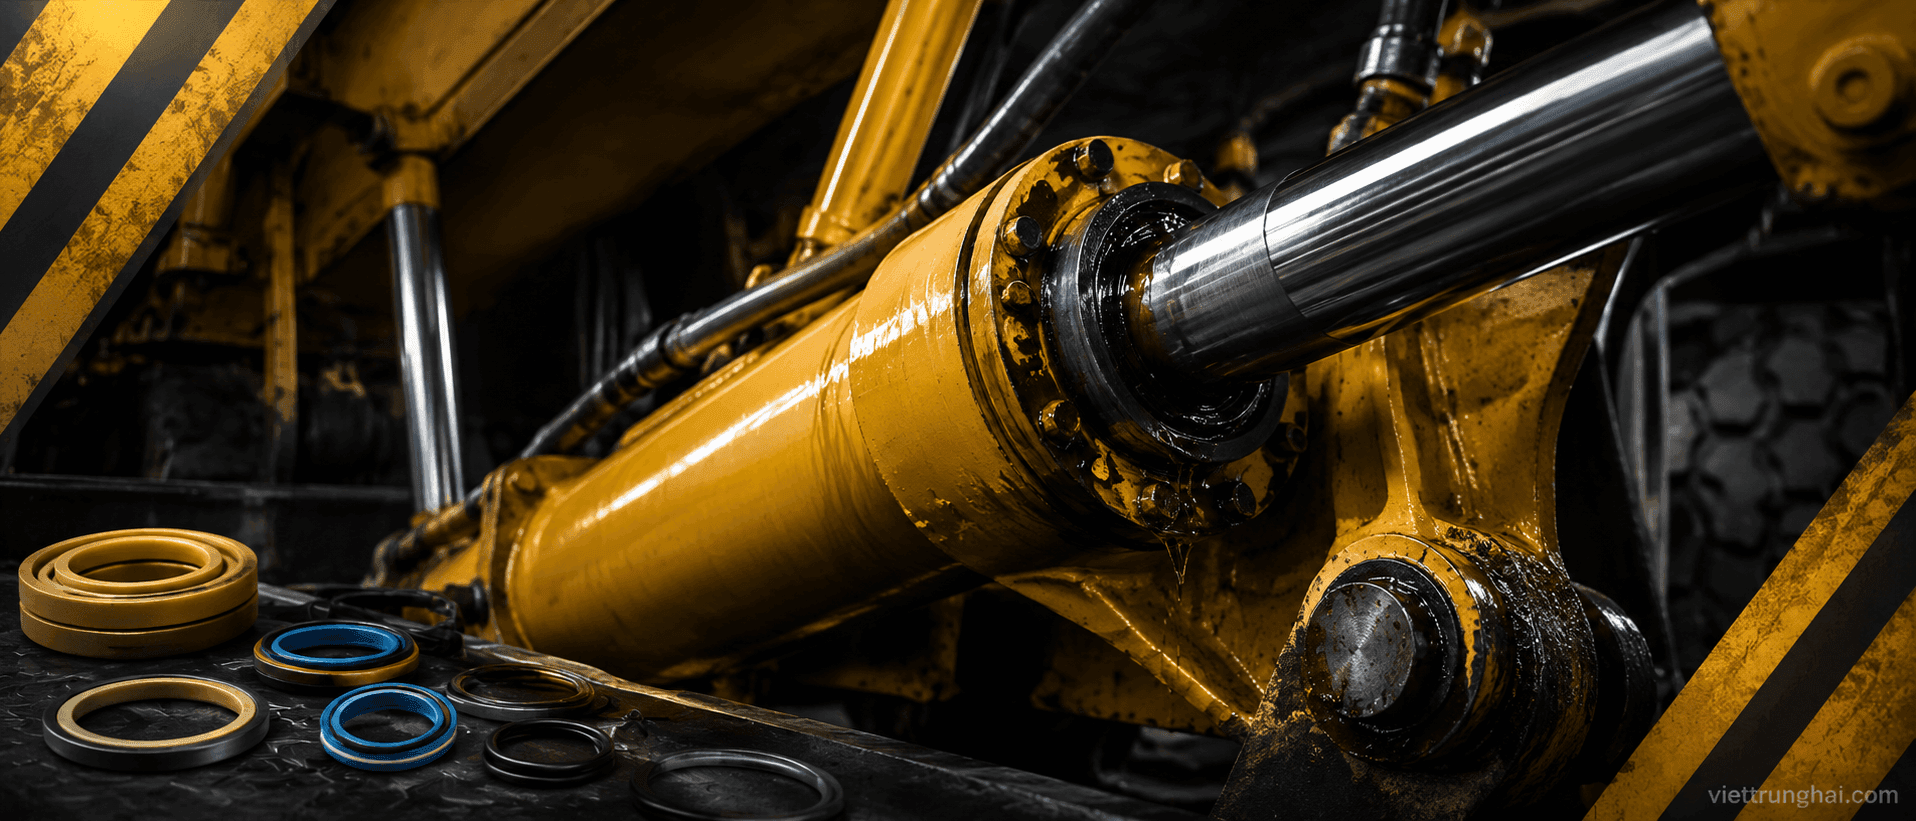
A cylinder seal keeps oil inside a hydraulic cylinder. When it wears, the cylinder leaks oil, the ram creeps down and loses force. Replacing the seal correctly gets the machine working like new without replacing the whole expensive cylinder. This guide covers the nine-step process workshops use, plus how to spot a seal that needs replacing, what a seal kit contains, how to inspect the rod, and the common mistakes to avoid.
When should you replace an excavator cylinder seal?
Replace the cylinder seal kit when you see these signs:
- Oil leaking at the rod end (the gland), weeping out as the cylinder extends and retracts.
- Ram creep: the bucket, boom or arm drops on its own while holding a load.
- A weak, slow cylinder even though the pump and valves are fine.
- A torn dust seal letting dirt and water in, which damages the rod and seals.
To identify the right cylinder, watch where the oil leaks and which function creeps. If the rod is deeply scored or the chrome is flaking, a seal alone is not enough — the rod needs re-chroming or replacing, because a scored rod cuts a new seal fast and you end up doing the job twice.
What is in a cylinder seal kit?
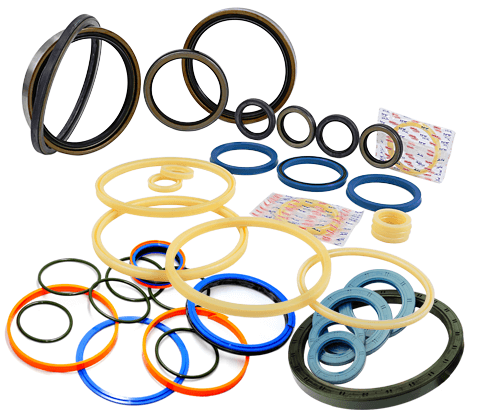
Knowing each part's role helps you fit it right and skip nothing:
- Rod seal: seals around the rod, stopping oil escaping as the rod moves.
- Piston seal: seals between piston and bore, holding pressure between the two oil chambers.
- Dust (wiper) seal: wipes dirt and water off the rod, protecting the rod seal behind it.
- Wear (guide) ring: centres the rod and piston, preventing metal-to-metal contact.
- O-rings and back-up rings: seal the static joints in the gland and piston.
Missing or mis-fitting any part leads to leaks or an early repeat failure, so always fit the full kit.
Prepare tools and the seal kit
Get everything ready so you do not have to stop mid-job:
| Group | What to prepare |
|---|---|
| Seal kit | Rod, piston, dust seals, wear ring and O-rings in the correct sizes |
| Tools | Puller, wrenches, seal-fitting tool, fixture to clamp the cylinder |
| Supplies | Clean rags, clean hydraulic oil, fine emery to dress light burrs |
| Environment | A clean, dust-free spot — dirt is the enemy of seals and rods |
Send the rod diameter, cylinder bore and machine model to pick the right kit and avoid the wrong size.
9 steps to replace an excavator cylinder seal correctly
- Lower the boom and arm fully and relieve the pressure in the cylinder before removal, to avoid oil spray and stay safe.
- Remove the cylinder from the machine, marking its position and orientation.
- Drain the remaining oil, then clamp the cylinder body firmly to the fixture.
- Remove the gland and gently pull the rod-piston assembly out, avoiding scoring the bore.
- Strip all old seals from the piston and gland, noting the order and direction of each.
- Clean the rod, piston, bore and seal grooves; inspect the rod and bore carefully for scoring.
- Fit the new seals the right way round, apply a film of clean oil, and take care not to nick the lip over grooves and threads.
- Reassemble the rod-piston assembly, fit the gland and torque evenly to the maker's spec.
- Refit the cylinder, connect the lines, and cycle it a few times with no load to bleed the air before working.
Rod inspection: when to re-chrome, when to replace
The rod decides how long the new seal lasts, so inspecting it matters:
- Light surface scratches: polish lightly and reuse.
- Deep scratches with a cutting burr: re-chrome to restore the surface.
- Flaking chrome or pitting: re-chrome or replace, as a damaged surface cuts seals fast.
- Bent rod: straighten or replace, since a bent rod wears seals unevenly and sticks.
Skipping this is the number-one reason a freshly fitted seal leaks again soon.
Common mistakes when fitting seals — and how to avoid them
| Common mistake | Cause | How to avoid |
|---|---|---|
| New seal leaks immediately | Fitted backwards or lip nicked | Fit the right way, oil it, use a fitting tool |
| Seal fails again quickly | Scored rod / flaking chrome not fixed | Re-chrome or replace the rod first |
| Dirt and water get in | Poor or missing dust seal | Fit the full kit; never skip the dust seal |
| Cylinder weak after the job | Air still in the cylinder | Cycle with no load to bleed the air |
| Scored bore | Rough teardown, careless cleaning | Pull gently, clean grooves and bore well |
After the job: run-in and bleeding
After reassembly, do not put the machine straight to heavy work. Cycle the cylinder a few times unloaded to push out the air, and watch the gland for any weeping. Recheck the tank oil level, since some oil is lost during teardown. Run lightly for a few minutes, then work normally and keep an eye on it for the first day.
Tips to make the cylinder seal last
Seal life depends heavily on the rod and cleanliness during fitting. Keeping the rod unscored, replacing the dust seal the moment it tears, and using clean oil of the correct grade all extend seal life noticeably. Avoid working in heavy mud and sand without protecting the rod. In our jobs, the fastest way a new seal fails is almost always a scored rod not addressed before fitting.
Common mistakes when replacing cylinder seals
- Replacing only the rod seal and skipping the piston and dust seals, so the ram still creeps.
- Not inspecting the rod and fitting a new seal onto a scored rod.
- Using a sharp tool to pry seals, scoring the groove and bore.
- Fitting seals dry, tearing the lip on installation.
- Skipping the air bleed, leaving the ram weak and jerky and mistaken for a bad seal.
Why replace a cylinder seal early?
Many owners keep running a cylinder that has started to weep, thinking it is not worth the downtime. But a failing seal does not heal — it only gets worse. When the dust seal tears, dirt and water follow the rod inside, scoring the rod surface and ruining the inner rod seal too. A small weep left too long can turn into a scored rod that needs re-chroming, several times the cost of an early seal change. On top of that, ram creep under load is a real safety risk, especially lifting heavy loads or working at height. Replacing early, while the rod is still good, is always cheaper and safer than waiting until you must re-chrome the rod or replace the whole cylinder.
Telling a bad seal from other faults
Not every weak or leaking cylinder is a seal, so tell them apart to avoid replacing the wrong thing. Oil at the gland each time the cylinder cycles is usually the rod seal. A ram that creeps down under load without external leakage is usually the piston seal passing oil internally. If the cylinder is weak but neither leaks nor creeps, suspect a load-holding valve (lock or counterbalance valve) or the oil supply rather than the seal. Watching the leak location, the type of creep and when it appears lets you open only the cylinder that needs it. If several cylinders go weak at once, the problem is more likely a shared pump or valve than each cylinder's seals.
Genuine or aftermarket seals?
The market has machine-genuine seals, seals from major seal makers, and cheap aftermarket seals. Good-quality seals use the correct material with sharp lips and stable elasticity, standing up to the pressure and heat of construction-machinery hydraulics. Very cheap seals often use poor material that hardens and deforms quickly, leaking again soon — no real saving once you count the repeat teardowns. For heavily loaded, continuously working cylinders, prefer proper-quality seals over the cheapest option. What matters most is still the correct size and material for the application; an expensive kit in the wrong size is useless. Send the rod and bore dimensions and the working conditions to be advised on the right type.
What drives the cost and time of a seal job?
The cost and time of a cylinder seal job depend mainly on the rod's condition and how hard it is to remove and refit. If the rod is good, it is just the kit plus labour — fast and cheap. If the rod must be re-chromed, add a few days for chroming and a noticeable cost rise. Large cylinders, awkward mounting positions, or rusted gland bolts also lengthen the job. So when getting a quote, describe the rod's condition and the symptoms clearly so the workshop can give a realistic plan and price without mid-job surprises. Having the correct kit ready before teardown also shortens the machine's downtime.
Do it yourself or take it to the workshop?
For a small cylinder with a good rod and the right tools, an experienced mechanic can replace the seals on-site. But if the rod needs re-chroming, the cylinder is large and hard to clamp, or you lack a proper seal-fitting tool, take it to the workshop to keep it dust-free and torque it correctly. Working in a dirty spot or without the right tools tends to fail the new seal early, costing far more than doing it right the first time.
When you need the right hydraulic seals or a cylinder seal kit, send the rod diameter, bore and machine model to the Việt Trung Hải technical team to match. For seal standards and markings, refer to a seal maker's documentation such as NOK.
Key takeaways
- Replacing an excavator cylinder seal takes 9 steps, from relieving pressure to bleeding air.
- A kit has rod, piston, dust seals, a wear ring and O-rings — fit the full set.
- An unscored rod is the deciding factor for how long the new seal lasts.
- A deeply scored or flaking rod needs re-chroming before fitting seals.
- Bleed the air and run-in after fitting so the ram is not weak and jerky.
- Clean oil and rod protection make seals last longer.
Written by
Nguyễn Văn Hùng
Nguyễn Văn Hùng diagnoses excavator faults by symptom — sounds, heat and how the machine responds. He writes the guides that separate causes and lay out repairs from cheap to expensive, based on hands-on workshop experience.
Related parts
The exact parts discussed above — send your machine model or pump code to match.