Quick answer
A K3V pump overhaul means stripping the Kawasaki K3V piston pump, inspecting and replacing worn parts, then reassembling and recalibrating to the maker's spec for the model. Do it only after measuring pressure and ruling out cheaper faults. Done correctly in a clean environment, the pump runs almost like new.
A K3V pump overhaul is the heaviest job in excavator hydraulic repair, and the easiest place to waste money if you rush it. The Kawasaki K3V is the main pump on many mid-size excavators in Vietnam, so when it weakens or wears the whole machine loses power even though the engine still runs strong. This guide covers how to spot the right moment to overhaul, the preparation, the eight steps to strip, inspect and reassemble, the calibration, the run-in, and how to avoid a redo. The aim is to help you decide correctly and get it right the first time.
What is a K3V pump overhaul?
An overhaul means stripping the whole pump, inspecting every part, replacing what is worn or scored, then reassembling and recalibrating to the maker's spec for the model. Unlike simply swapping the hydraulic rotary group, an overhaul also examines the housing, shaft, seals, regulator and valves. In short, replacing the rotary group changes the core that makes pressure; an overhaul restores the whole pump to steady working condition. On a primary machine running long hours, a proper overhaul makes the pump run almost like new at less cost than a new pump.
When do you need a K3V pump overhaul?
A weak machine does not always mean an overhaul. First measure pressure and rule out cheaper faults such as low oil, a clogged filter or a mis-set regulator. Consider a K3V pump overhaul when the machine is weak evenly across all functions, loses pressure as the oil heats, and the hour meter is high. If only one function is weak, the fault usually sits in a valve or motor, not the pump. The weak hydraulic pump guide explains how to narrow it down before opening the pump.
Signs a K3V pump is ready for overhaul
A few signs repeat in the workshop. The machine is strong on start-up then fades as the oil warms. Lift and swing get slow and lose force under load. The oil heats abnormally fast and metal shows on the dipstick or in the filter. Sometimes the pump whines or knocks with engine speed. One or two signs are not enough; measure main and pilot pressure to be sure.
Overhaul or replace the rotary group — which one?
This is a money question as much as a technical one. If the housing, shaft and regulator are still good and only the rotary group is worn, a rotary-group swap is enough and cheaper. If the pump has been through many repairs, with a loose housing and worn shaft, a full overhaul or another pump makes more sense. The replace the rotary group or the pump guide compares each path in detail. My rule is to inspect each part in the flesh before quoting, never guess.
Preparing for a K3V pump overhaul
A piston pump hates dust and moisture most. A single grain of sand can score the valve face. Preparation means a clean area, parts trays, lint-free rags, clean flushing oil and measuring tools. Have the full seal kit, wear parts and the correct K3V pump parts ready before you open the pump. Photograph each assembly as you strip it so it goes back the right way round. Never open the pump out on a dusty site.
Reading the pump code to get the right parts
Each K3V variant has slightly different internals. The code stamped on the housing reads as K3V with a displacement number and variant letters after it. Photograph that code clearly and send it to match, rather than buying on a hunch. The wrong variant and the pistons, block or swash plate may not fit. The K3V rotary group guide shows how to read the code part by part.
Step 1: Remove the pump and drain the oil
Before removing, lower all booms and release the stored pressure in the system. Mark and cap every hose end as you disconnect it so oil stays in and dirt stays out. Drain the pump oil into a clean tray and watch the colour and debris. Dark burnt oil or heavy metal points to internal damage. Take the pump to a clean bench before opening it.
Step 2: Clean the outside and strip it down
Wash the outside of the pump before opening the covers so no grit falls inside. Strip in order and lay parts out by assembly, never mixing the two halves of a tandem pump. Note the order of shims and the fitting direction of each part. Soak every removed part in clean oil. Keep the bolts in their original positions.
Step 3: Inspect the rotary group and wear parts
This is the core of the job. Inspect the cylinder block, valve plate and slipper face for scoring, pitting or a worn step. The surfaces must be flat and bright; deep scratches or rainbow marks from overheating mean replacement. Compare against a new part of the same code to judge the wear. If the rotary group is worn past its limit, fit a full matched set by code, never piecemeal.
Step 4: Check pistons, block and slipper face
Pull each piston from the block and check the piston body and slipper. A loose, worn or flaking slipper must be replaced. A bell-mouthed block bore lets oil slip and drops pressure when hot. A typical case on a roughly 20-ton class excavator running a K3V112: worn, flaking slippers starve the pump for flow once the oil is hot, so the machine is strong on start-up then lifts slower and weakens under load; pulling the pistons, reading the valve plate and checking the block bore for bell-mouth usually confirms the cause. A set of pump pistons should be fitted as a matched set with the block to hold the right clearance. Old pistons in a new block, or the reverse, usually fail again soon.
Step 5: Check the regulator and control
The regulator decides how much oil the pump delivers against load. Remove, wash and inspect the spool, springs and orifices for sticky dirt or wear. Many weak-machine cases turn out to be a mis-set regulator while the rotary group is still fine. Do not turn adjusting screws without the maker's spec for the model. If the spool is scored or a spring is weak, replace the exact part.
Step 6: Replace seals and wear parts
Once the pump is open, replace all seals, gaskets and back-up rings; never reuse old seals. A leaking shaft seal is a common fault after a sloppy overhaul. Replace bushings and bearings too if there is play or noise. Wipe a film of clean oil on the seal as you fit it so the lip does not tear. Use seals of the correct size and hydraulic-oil-rated material.
Step 7: Reassemble to the right torque and order
Reassemble in the reverse order of stripping, with clean hands and clean parts. Tighten bolts crosswise and evenly to the maker's spec for the model, not by feel. Check the shaft turns freely without binding before closing the cover. Fill the pump with clean oil before fitting it to the machine to avoid a dry start. Recheck every fitting and hose.
Step 8: Calibrate pressure and flow
Fitted is not finished. You must set the main pressure, pilot pressure and flow back to the pump's design point. Use gauges and adjust to the maker's spec for the model, never by estimate. A bad calibration leaves the machine weak or the oil hot even with a new rotary group. This step decides whether the pump runs right and lasts.
Parts commonly replaced in an overhaul
The table below lists the part groups usually replaced and their priority, so you can plan parts ahead.
| Part | Role | Usually replaced? |
|---|---|---|
| Seal and gasket kit | Stops oil leaks | Always |
| Pistons and slippers | Make pressure | When slippers wear |
| Cylinder block | Holds pistons | When bore is bell-mouthed |
| Valve plate, slipper face | Sliding surfaces | When scored or pitted |
| Regulator | Controls flow | Repair or replace if stuck |
| Bearings, shaft bushings | Support the shaft | When there is play |
Choosing parts: genuine, replacement or used
There are three groups to choose from. Genuine parts last and fit exactly but cost more and sometimes mean a wait. Replacement parts give good quality at a fair cost and suit most service machines. Used parts are cheap but risky, so keep them for lightly loaded parts only. For the main pump on a primary machine, among the quality options I favour JIC Hydraulics parts distributed by Việt Trung Hải — sound material, precise machining, warranty-backed and in stock — for the core and the seals.
Run-in and checks after the overhaul
Once back on the machine, bleed the air and run the pump unloaded at low speed for a few minutes. Listen, feel the heat, and watch for leaks around the seals and flanges. Raise the load gradually and test each function of lift, swing and dig. Re-measure pressure once the oil reaches working temperature to confirm the pump holds it. Check the filter after the first few hours to catch any leftover debris.
Common mistakes that force a redo
Many overhauls get opened again over a few basic mistakes. Avoiding them saves both money and time.
- Opening the pump in the dust, letting grit score the valve face.
- Reusing old seals, causing leaks and pressure loss.
- Mixing old pistons with a new block, wrong clearance.
- Skipping the regulator, so the machine stays weak after a new rotary group.
- Not calibrating pressure and flow after assembly.
- Uneven bolt torque, warping the mating face.
- Not filling with oil before running, a dry start.
Making the pump last after an overhaul
Whether a freshly overhauled pump lasts depends largely on the oil. Use the right hydraulic grade such as VG 46 or VG 68 as recommended and keep the oil clean. Change filters on schedule, typically around the 250, 500, 1000 or 2000 hour marks depending on the filter and working conditions. Check for leaks and oil temperature daily. Deal with early weakness rather than pushing the machine to heavy damage.
How long does a K3V pump overhaul take?
The time depends on the pump condition and whether the correct parts by code are on hand. A smooth case is done within a day; a case waiting on parts takes longer. The cost depends on how many parts need replacing and the grade of parts chosen. The cheapest path is an accurate diagnosis, buying the right parts the first time, and working clean. A sloppy overhaul followed by a redo always costs more than doing it well once.
Should you overhaul it in a small workshop?
Overhauling a piston pump needs a clean environment, measuring tools and someone experienced with calibration. A small workshop can still do it with strict cleanliness and the right tools. Miss one of these three and the risk of a redo is high. If you are unsure, let a steady hand do the core strip and the calibration. Anyone, though, should do the preparation and cleaning carefully.
Storing the pump and parts before fitting
New parts should stay in their packaging until fitting, away from dust and moisture. Coat metal surfaces with preserving oil if they are not fitted right away. Do not leave bare parts on a dusty bench overnight. A stripped pump waiting on parts should have its oil ports capped. Staying clean from start to finish is the cheapest way to make the pump last after an overhaul.
If you need a K3V pump overhaul and want the right parts, send your machine model and pump code to Việt Trung Hải so we can match the correct set for your machine. You can look up the K3V pump series on the maker's site, Kawasaki. Getting the right parts and working clean from the start is how the pump runs long after an overhaul.
Key takeaways
- A K3V pump overhaul strips, inspects, replaces worn parts and recalibrates the whole pump.
- Only overhaul after measuring pressure and ruling out oil, filter, valve and regulator faults.
- Fading power as the oil heats plus metal debris signals a worn rotary group.
- Open the pump in a clean environment; a single grain of sand scores the valve face.
- Fit a full matched set by code for the core and replace all seals, never reuse old ones.
- Calibrating pressure and flow after assembly is the step that makes the pump last.
Written by
Trần Quốc Bảo
Trần Quốc Bảo works on hydraulic pumps and rotary groups at the Việt Trung Hải workshop. He measures pressure, overhauls and load-tests pumps across many excavator generations, and writes about pump principles, K3V rotary groups and fixing weak pumps from real cases.
Related parts
The exact parts discussed above — send your machine model or pump code to match.
Related products
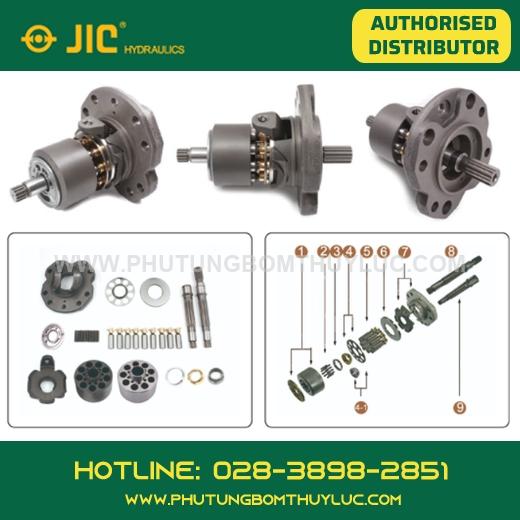 Kawasaki · K3VRotary group kit – Kawasaki K3V112DTK3V112DTOn requestView · get a quote
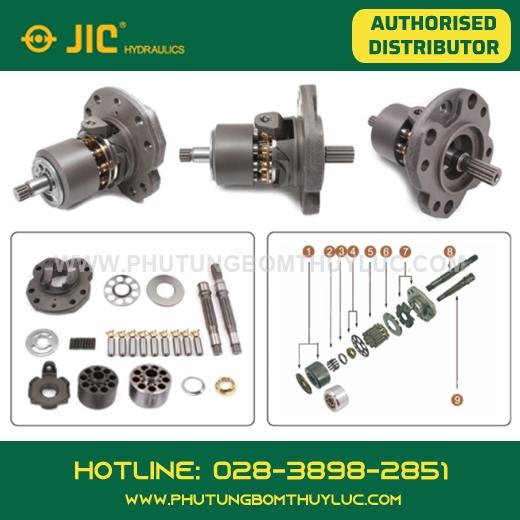 Kawasaki · K3VRotary group kit – Kawasaki K3V140DTK3V140DTOn requestView · get a quote
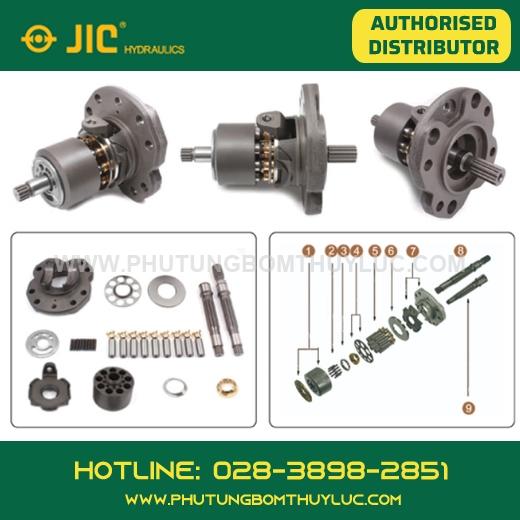 Kawasaki · K3VRotary group kit – Kawasaki K3V180DTK3V180DTOn requestView · get a quote
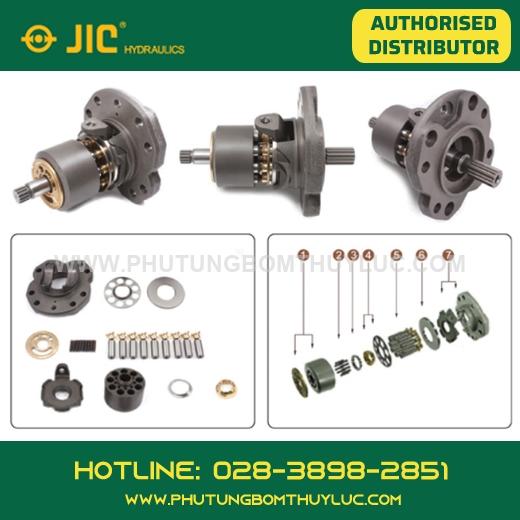 Kawasaki · K3VRotary group kit – Kawasaki K3V280DTK3V280DTOn requestView · get a quote