Quick answer
Checking hydraulic pump pressure starts by connecting the gauge to the correct main pressure port, then reading pressure at no load and under load. You match the reading against weak-machine signs to tell whether the fault is in the pump or downstream. If pressure builds fine yet the machine stays weak, shift the check away from the pump.
Checking hydraulic pump pressure is the first step when a machine feels weak, slow, or short on force. It tells you whether the pump still builds enough pressure, instead of guessing and swapping the wrong parts. In this guide I show you how to measure pressure safely: where to connect the gauge, how to read pressure at no load and under load, then how to match those readings against weak-machine symptoms in the field. There are no fixed bar figures here, because every machine model differs; what matters is reading the trend correctly and comparing at the right point.
Why check hydraulic pump pressure before you conclude the machine is weak
Many owners see a slow bucket and immediately blame the pump. In reality, a weak machine can come from the valves, the regulator, hot oil, or the pump itself. Measuring pressure lets you narrow it down before you remove anything.
Once you have a pressure reading in hand, the picture gets much clearer. If pressure builds fine yet the machine stays weak, the fault sits downstream of the pump. Only if pressure fails to build do you turn back to the pump. If you are still unsure between symptoms, read our guide on a weak hydraulic pump to identify the signs correctly before you pick up a gauge.
What main pump pressure is and what it tells you
Main pump pressure is the oil pressure the pump builds to drive the whole system. This number reflects the core health of the pump and of the main relief valve. When main pump pressure drops, every motion of the machine weakens with it.
You should treat main pump pressure as a band, not a single dead point. It shifts with load, with oil temperature, and with how the regulator works. So when measuring, we care about how pressure reacts, not just one lone figure.
Safety preparation before measuring pressure
Hydraulic oil under high pressure can pierce skin and cause serious injury. Before you remove any plug, shut the machine down, let the system bleed off pressure, and let the oil cool a little. Never trace a leak with a bare hand.
Prepare everything before you start so you do not stop halfway. A tidy setup also lets you read numbers quickly and avoid running the machine pointlessly long.
- A pressure gauge with the right range that is still in calibration.
- Fittings, high-pressure hose, and adapters that suit the test port on the pump.
- Clean rags, a drip tray, and oil-resistant gloves.
- A notebook or phone to record each reading step by step.
Which pressure gauge to choose
Pick a gauge with a range comfortably above your expected working pressure. Too low a range destroys the gauge; too high a range moves the needle little and is hard to read accurately. Favour a glycerine-filled type, since the needle stays steadier when the machine vibrates.
The gauge must be within calibration for the numbers to be trustworthy. A gauge that reads off will lead you to a wrong conclusion and a wrong part swap. According to the technical documentation from Bosch Rexroth, the measuring device and the test point must suit the system for the result to mean anything.
Where to connect the pressure gauge on the pump
Most modern piston pumps have a built-in test port near the main outlet. This is the correct spot to connect the gauge for reading main pump pressure. If you are not sure which port it is, check the diagram for the exact pump model rather than guessing.
Beyond the main pressure port, there are secondary ports tied to control signals and the regulator. Do not confuse the signal port with the main pressure port, because the two give very different numbers. Connecting to the wrong spot is a common reason beginners read meaningless figures.
How to check hydraulic pump pressure step by step
This is the core part. Work slowly, work firmly, and keep watching the machine while you measure. If anything looks wrong, stop at once.
- Shut down, bleed pressure, then fit the gauge tightly onto the main pressure port.
- Start the engine and idle it, letting the oil warm to normal working temperature.
- Read pressure at no load, note the figure, and feel how steady the needle is.
- Build load gradually with a hold-to-stop motion, and watch how far pressure climbs.
- Release the load, watch how pressure falls back to baseline, then repeat a few times to be sure.
Record all four moments: no-load baseline, the climb under load, the held peak, and the release. These four numbers tell you a fuller story than a single isolated reading.
What does the no-load reading tell you?
At no load, main pump pressure usually sits at a low, steady baseline. A needle that holds still or drifts only slightly is a good sign. If the needle shakes hard even at no load, suspect air in the system or a regulator working erratically.
The no-load baseline also shows whether the pump has internal leakage. If the baseline sits abnormally high, a valve may be stuck or an oil path blocked. This is why we always read no-load pressure before building any load.
Reading pressure under load and on release
When you hold a cylinder against its stop, the pump must drive pressure up to the main relief threshold. Pressure should climb decisively and hold firm at the peak. Climbing slowly, not reaching the peak, or climbing then sagging are all signs worth noting.
On release, pressure should drop quickly to the no-load baseline. If it falls slowly or hovers, suspect the regulator or a valve responding poorly. Comparing the rise and the fall gives you more information than the peak number alone.
Matching the reading against weak-machine signs in the field
A reading only means something when you pair it with how the machine actually behaves. If pressure builds fine yet the bucket still digs weakly, the fault usually sits in the control valve, a cylinder, or the load side, not the pump. Only when pressure fails to build do you focus on the pump and regulator.
Watch for the familiar signs: an unusual pump whine, a pump body that heats up fast, a machine that fades when several functions run at once. Pairing these signs with the reading gives a surer diagnosis. Our guide on a weak hydraulic pump describes these signs in detail so you can cross-check.
The role of the pump regulator when measuring pressure
The regulator decides how much oil the pump delivers to match the load. When you measure pressure, it is the thing that governs how pressure climbs and holds. A worn or mis-set regulator makes pressure climb slowly or fall short, even when the rotary group is still good.
So before you condemn the rotary group, inspect the regulator closely. Many weak-machine cases only need work here to fix. If you need a replacement, look at the correct pump regulators for a proper fit.
When the gauge needle shakes or drifts abnormally
A needle that trembles gently with the engine beat is normal. A needle that jerks hard, bounces wildly, or swings wide is not. Heavy shaking usually comes from air in the system, low oil, a clogged filter, or a regulator responding unevenly.
Before blaming the pump, rule out the simple causes. Check the oil level, the filter condition, and the suction connections. Often a single air-leaking suction line is enough to make the needle jump and the machine fade.
Slow pressure build: common causes
Slow build means the pump needs time to gather enough force. Common causes are a slow-responding regulator, oil too thin when hot, or a rotary group starting to leak internally. A dirty filter and a restricted suction line also contribute.
The way to tell them apart is to watch both cold oil and hot oil. If pressure builds well cold but fades when hot, suspect internal leakage that grows with heat. This is an important clue for the deeper inspection step.
Pressure will not reach the threshold: in what order to check
When pressure will not reach the expected threshold, do not pull the pump right away. Work from easy to hard so you do not miss a cheap cause. A disciplined method saves you both time and parts.
- Check the oil level, filter, and suction line first.
- Inspect the main relief valve for sticking or a wrong setting.
- Check the regulator and the control signal.
- Only at the end suspect a worn or internally leaking rotary group.
If you suspect the relief valve or the pressure setting, read more about adjusting pump pressure to understand how the system sets its threshold before you touch an adjusting screw.
How oil temperature affects the reading
Cold oil is thicker, hot oil is thinner, and this directly affects the reading. Measuring right after startup differs from measuring once the oil is evenly warm. For a fair comparison, always measure at the same thermal state.
Many machines only weaken when the oil is hot, staying strong when cold. That is usually a sign of internal leakage rising with temperature. So recording the operating temperature when you measure helps you read the number in the right context.
Symptom-to-check reference table
The table below sums up how to pair a symptom with a check direction. It is a starting point, not a final verdict. Always cross-check against how the machine actually behaves.
| Symptom while measuring | First suspect | What to do |
|---|---|---|
| Abnormally high no-load pressure | Stuck valve, blocked oil path | Inspect relief valve and return line |
| Slow pressure build | Regulator, heat-driven leakage | Compare readings cold and hot |
| Pressure will not reach threshold | Relief valve, regulator, rotary group | Check from easy to hard |
| Needle shakes hard | Air ingress, clogged filter, suction leak | Check oil level, filter, suction joints |
| Pressure fine but machine weak | Control valve, cylinder, load side | Shift the check downstream of the pump |
Common mistakes when measuring pressure yourself
The most common mistake is connecting to the signal port instead of the main pressure port. Next is measuring while the oil is still cold, then rushing to a conclusion. Many people also forget to bleed pressure before removing a plug, which is dangerous.
Another quiet mistake is using an out-of-calibration gauge. A wrong number leads to a wrong decision, and you may replace a whole set of hydraulic-pump parts while the machine stays as weak as before. Measuring right from the start saves a lot of money.
When you need to open the rotary group for a deeper check
Only open the rotary group after you have ruled out the valves, filter, suction line, and regulator. The rotary group is the costly, difficult part, so be sure before you touch it. The typical sign is fading pressure that grows with heat and a pump that heats up abnormally fast.
When it is open, inspect the valve plate, pistons, and sliding surfaces for scoring, pitting, or wear. If the group is worn enough to leak internally, fitting the correct hydraulic rotary groups is often the sensible path. Reassembly must be perfectly clean, because even fine dust can wreck a new pump.
Genuine versus aftermarket when you must replace parts
When a replacement is unavoidable, you stand between genuine and aftermarket. Genuine parts give steady fit and lifespan at a noticeably higher price. Aftermarket is cheaper but its quality varies with condition and source.
There is no single right choice for every case. A machine that works hard and runs continuously should favour durability; a light-duty backup machine can consider the economical route. What matters is knowing exactly what you are buying and from which source.
Recording readings to track over time
One measurement gives you a snapshot; many measurements give you a trend. Recording readings at each service lets you see whether the pump is fading or holding steady. A steady downward pressure trend is a valuable early warning.
You do not need a fancy logbook. Note the date, the oil temperature, and the four pressure numbers. A few short lines today can save you a dead-machine day in the middle of a job.
When to call a pump specialist
If you have measured, ruled things out, and still cannot see the cause, do not force it. Piston pumps demand special tools and deep experience to open and reassemble correctly. One careless job can wreck the whole pump assembly.
Call a pump specialist when a deep measurement is needed, when the pressure setting must be reset, or when the rotary group must be opened. A skilled hand reads the numbers quickly and spares you costly mistakes. Knowing your own limits is a skill too.
Wrapping up the safe check procedure
Checking hydraulic pump pressure is not hard if you follow the right order and respect safety. Choose a calibrated gauge, connect to the correct main pressure port, read pressure at all four moments, then pair the readings with real behaviour. Do not rush to pull the pump before you have ruled out the valves, filter, and regulator.
If your measurements confirm you need to replace a component, browse the hydraulic-pump parts catalogue first to prepare the right line for your machine model. Measure right, replace right, and the machine lasts.
Key takeaways
- Measure pressure before concluding the machine is weak, to narrow the fault and avoid wrong part swaps.
- Connect the gauge to the correct main pressure port, not the control signal port.
- Read pressure at all four moments: no-load baseline, the climb, the held peak, and the release.
- If pressure builds fine yet the machine stays weak, the fault sits downstream, not in the pump.
- Measure at the same thermal state and also when hot to expose heat-driven internal leakage.
- Only open the rotary group after ruling out the valves, filter, suction line, and regulator.
Written by
Trần Quốc Bảo
Trần Quốc Bảo works on hydraulic pumps and rotary groups at the Việt Trung Hải workshop. He measures pressure, overhauls and load-tests pumps across many excavator generations, and writes about pump principles, K3V rotary groups and fixing weak pumps from real cases.
Related parts
The exact parts discussed above — send your machine model or pump code to match.
Related products
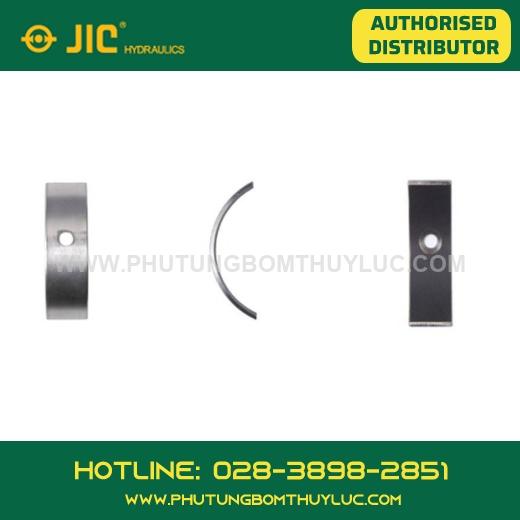 Kayaba (KYB) · PSVBushing – Kayaba PSVD2-17PSVD2On requestView · get a quote
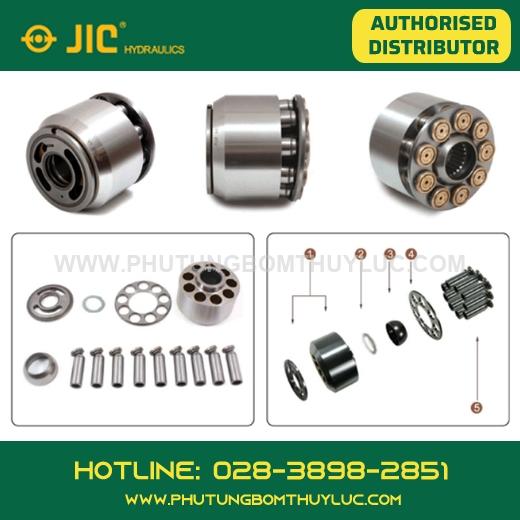 Kayaba (KYB) · PSVRotary group – Kayaba PSV2-55TPSV2On requestView · get a quote
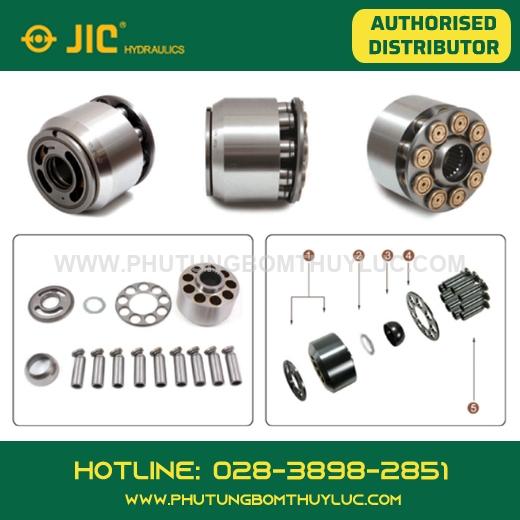 Kayaba (KYB) · PSVRotary group – Kayaba PSV2-60TPSV2On requestView · get a quote
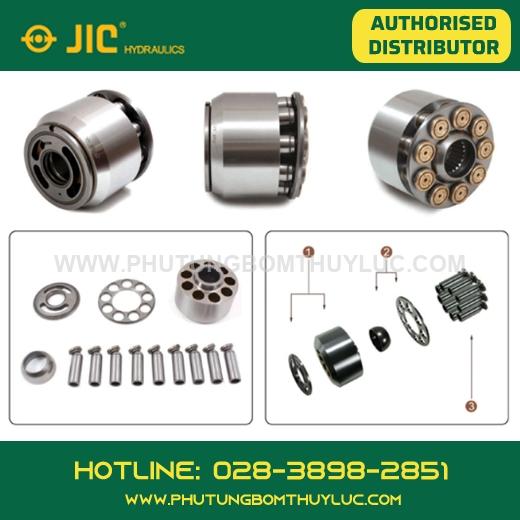 Kayaba (KYB) · PSVRotary group – Kayaba PSV2-63TPSV2On requestView · get a quote