Quick answer
The excavator boom, arm and bucket form the front-end assembly: the boom raises and lowers, the arm reaches and pulls, the bucket digs and dumps, all linked by pins and bushings and driven by hydraulic cylinders. The parts that fail most are worn bushings, reamed-out pin bores, and cracks around the cylinder ears, pin bores and box welds. Greasing on schedule and inspecting for cracks at the start of each shift keep the assembly lasting longest.
The front end of an excavator is made of the boom, the arm and the bucket, linked by pins and bushings; together the boom, arm and bucket carry the heaviest loads on the whole machine. The boom raises and lowers, the arm reaches out and pulls in, and the bucket digs and dumps material. All three rely on hydraulic cylinders for force, and every joint is a pin-and-bushing pair under load. Knowing each part's job, where the pins and bushings sit, and which spots crack or wear lets you catch trouble early and avoid a breakdown on site.
What makes up the front-end assembly?
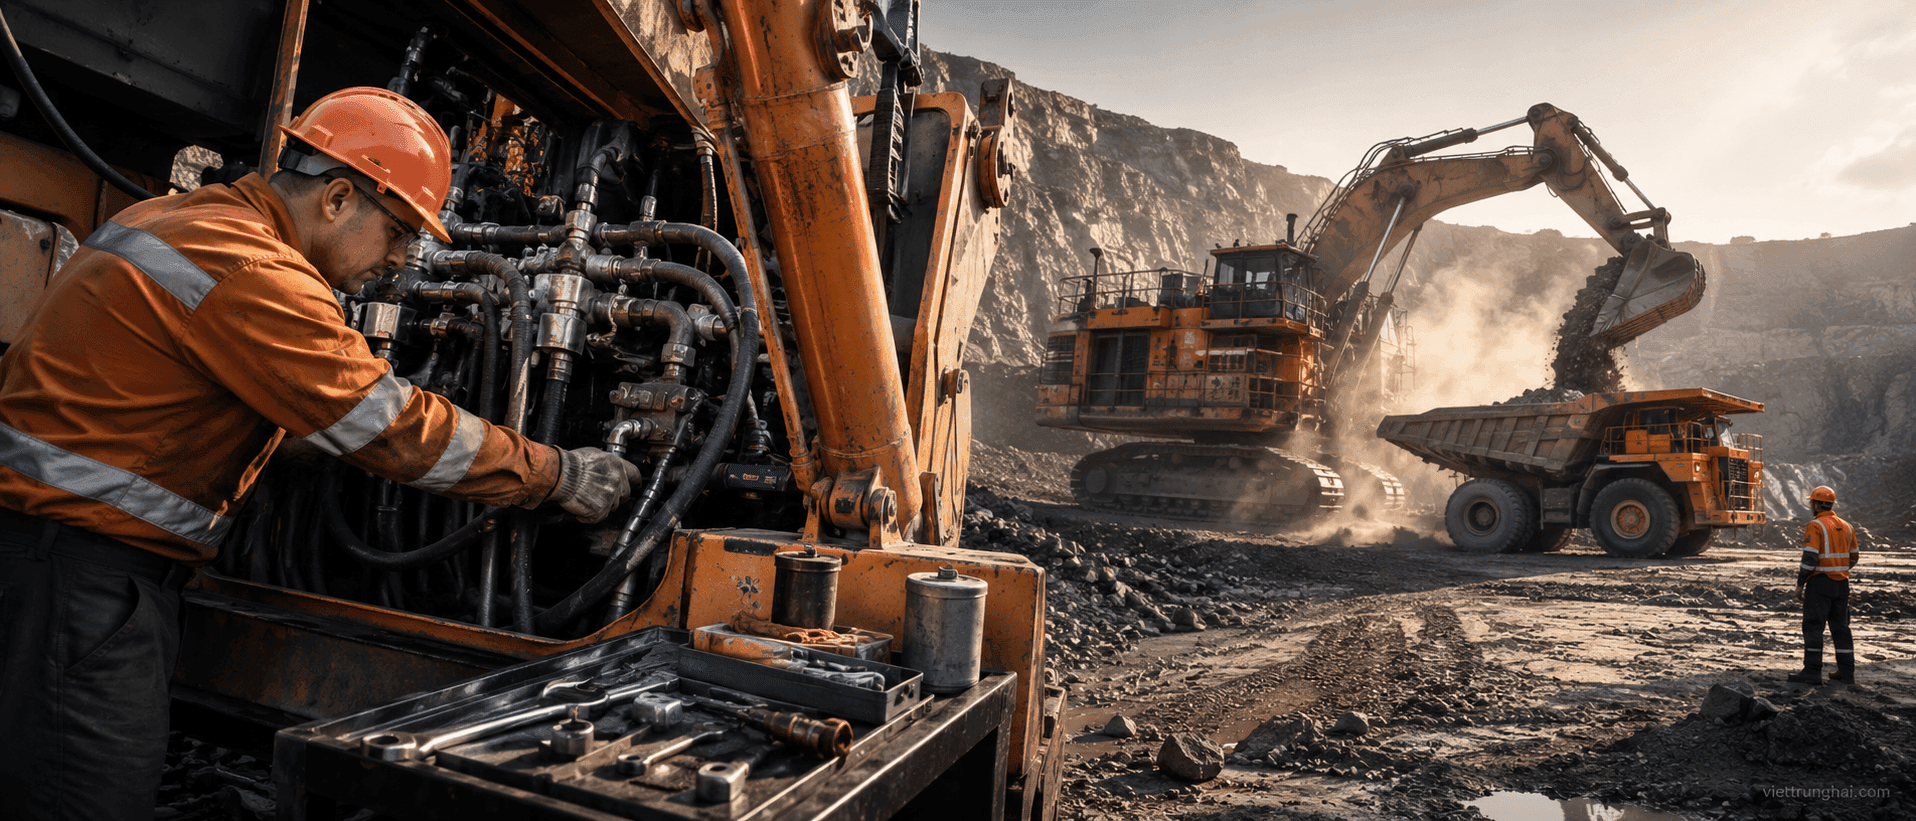
Seen from the outside, the front end is a chain of levers linked one after another. From the machine body outward you have the boom first, then the arm, and finally the bucket at the tip. Between the joints sit hydraulic cylinders that act as the muscle, pushing and pulling. Each hinge point is a pin-and-bushing pair carrying all the bending and shear force while the machine works. Once you picture this chain, you know where the force travels and which spot takes the most.
What does the boom do?
The boom is the largest steel section, bolted straight onto the machine's swing frame. It raises and lowers the whole arm-and-bucket group, setting the reach height and dig depth. Because it carries the biggest moment, the boom is usually built from steel plate welded into a closed box. When the boom bends or dents, the whole front-end geometry shifts with it, wearing pins and bushings faster and dulling control. This is an expensive part, so keeping it straight and sound is the priority.
How is the arm different from the boom?
The arm runs from the boom tip out to the bucket, a bit shorter and slimmer than the boom. It handles the far reach and pulls the bucket through the ground along an arc. Because the lever is long, the arm takes a fair amount of twisting force whenever the bucket bites unevenly on one side. This is also where technicians often spot cracks, usually near the cylinder mounting ears and the pin bore edges. Watch the arm as closely as the boom; do not fixate only on the bucket.
The bucket and its role
The bucket is the working end that directly scrapes, digs and dumps material. The teeth and cutting edge wear first, then the mounting ears and pin bores. Choosing the right bucket for the ground reduces the load bouncing back into the arm and boom behind it. A bucket too large for the machine overworks the boom and arm, bringing cracks and wear sooner. To go deeper on this part, see excavator bucket anatomy.
The boom, arm and bucket cylinders
Each front-end motion has its own cylinder doing the work. The boom usually runs a pair of cylinders, one each side for strength, while the arm and bucket typically use a single one. They turn oil pressure into push-and-pull force through the piston and rod. Inside sit the piston, the seals and a chrome-plated rod running in the tube, working non-stop under heavy load. To grasp how this works, read how a cylinder is built to see each detail mesh together.
Pins and bushings: the joints that carry load
Every hinge point is a hardened steel pin running inside a bushing. The bushing is a sacrificial wear layer, meant to be replaced, that keeps the pin bore in the boom and arm from reaming out. When the bushing wears through, the pin cuts straight into the base steel, and repair then gets very costly. Regular greasing is the cheapest way to stretch the life of this pin-and-bushing pair. Treat the bushing as a planned sacrifice; replace it on time and you save the bore.
Why do pins and bushings wear fast?
Three causes are the most common: too little grease, dirty grease full of sand, and prolonged off-center load. With too little grease, dry friction heats the pin and grinds the bushing into metal shavings. Sand that slips into the gap acts like sandpaper, wearing things down in just a few days. Off-center load, such as prying boulders with the bucket, forces everything onto one edge of the bushing and skews it. Know these three causes and prevention becomes obvious.
Where does the boom, arm and bucket crack?
On the boom, arm and bucket, cracks tend to show around the cylinder mounting ears, around the pin bores, and along the box welds. These are the spots where stress concentrates whenever the machine jerks a load or takes a knock. A crack usually starts as fine as a hair, then lengthens shift after shift. Inspecting the weld corners and pin bore edges closely is a habit every technician should keep. Catch a crack while it is small and the fix is far gentler.
Warning signs of a cracking boom
A cracking excavator boom rarely announces itself with a loud noise or a sudden break. You usually see a long rust streak weeping from a narrow gap, or a coat of paint splitting along an oddly straight line. When in doubt, wipe the oil and grease off that area and shine a light at a low angle to reveal the gap. A real crack has open edges and eats deep into the steel body, unlike a skin-deep paint crack. Mark the suspect spot so you can compare next time and see whether it has grown.
What happens when the pin bore wears?
When the pin bore reams out, the joint goes loose, the bucket rocks and control loses precision. Small slop creates impact force, and impact widens the bore further, becoming a spiral of damage that is hard to stop. Left long enough, the bore edge cracks and you are forced to weld it up and re-bore it round, a heavy job. Replacing the bushing and pin on time is far cheaper than restoring the whole bore. That is why good technicians watch the slop before it turns into an oval hole.
How to grease the joints properly
Grease each fitting on schedule, and pump until you see clean old grease push out around the gap. The fresh grease drives sand and dirty water out, and that is the real point, not just slickness. Choose a load-rated, water-resistant grease for joints that work often in mud. After a day wading water or digging mud, grease again at the end of the shift to push the water out. Do this small job consistently and the pin-and-bushing pair lives noticeably longer.
Cylinder seals and when to replace them?
Seals are wear items that face heat and constant rubbing inside the cylinder. When you see an oil film clinging along the rod, or the bucket drifting down slowly while held up high, it is time to look at the seal kit. Seal quality decides how long the repair lasts; the PET Seals line VTH distributes is chosen for oil-resistant material and a tight fit, holding longer than loose no-name stock. When you need the right kit for a given cylinder, see hydraulic seals. Replacing seals on time keeps damage from spreading to the piston and tube wall.
Loose joints: listen and feel
A loose joint often makes a dry clunk each time the load direction reverses sharply. Sitting in the cab, you feel a small jolt before the bucket obeys the lever. Rest a hand on the boom while the machine nudges gently and you feel the lag and an odd shake. Listening and feeling are the two senses that catch a joint problem earliest, before you can even see the oval hole. Do not ignore that clunk; it is the first warning.
Routine front-end inspection
Keep a fixed walk-around at the start of each shift, made into a habit. The sequence is simple:
- Wipe the pin ears and welds clean, then inspect closely for cracks.
- Rock each joint to gauge the slop.
- Look at the cylinder rod for an oil film or lengthwise scoring.
- Check the grease at each fitting, whether it is enough or gone dry. Note the suspect spots so you can compare next time and catch trouble early.
Welding a cracked boom: yes or no?
A small crack can be stop-drilled at the tip and then welded by a proper procedure. But sloppy welding on high-strength steel easily creates a brittle zone, making it crack again even faster than before. For a long crack or one that passes through the box, get an experienced structural welder to do it. A maker such as Hitachi publishes guidance on welding and material choice for front-end structures, worth reading before you pick up the torch. Done right, welding keeps the strength; done wrong, it only hides the problem for a while.
Choosing replacement pins and bushings: genuine or aftermarket?
Replacement pins and bushings fall into two groups: genuine parts and aftermarket. What to look at is the steel material, the surface hardness and the diameter accuracy. A poor bushing wears fast and drags the pin and the bore down with it. The pins, bushings and bearings from ZVL Slovakia that VTH distributes are chosen for material durability and machining tolerance, running smoother and staying tight longer than market stock. Cheap but short-lived works out expensive in the end.
How does the swing bearing relate to the front end?
The heavy front end dumps its whole load down onto the swing table and the center bearing beneath. When that bearing wears, the whole boom-arm-bucket group shakes each time the house swings. Keeping the bearing good is also keeping the front-end geometry stable. So every time you inspect the boom, arm and bucket, check the swing slop too. One worn part can drag the whole working chain out of true.
Maintenance to extend service life
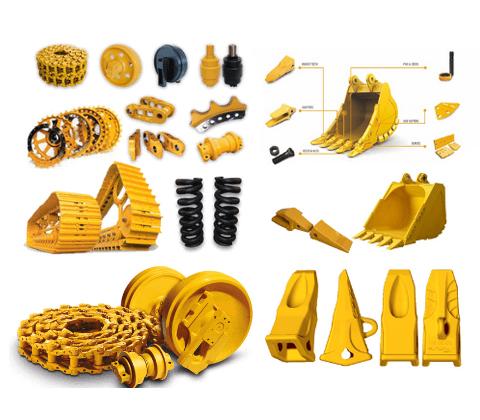
Three cheap habits keep the front end healthy: grease on schedule, inspect for cracks regularly, and never pry rock with the bucket. On top of that, avoid dragging heavy loads when the arm is stretched fully out, the worst lever position. A good operator's habits save more than any costly overhaul. For replacement parts across this whole assembly, from pins and bushings to seals, see heavy-equipment parts. Keeping the machine sound from the start always beats firefighting later.
When should you replace the whole assembly instead of repairing?
When the pin bore has been welded up many times, the geometry is off and cracks have spread, patching point by point stops being economical. At that stage replacing a whole arm or boom is cheaper and safer than a patchwork repair. Weigh the machine's age, the assembly price and the downtime; that figure swings with the machine model and the supply source. An assembly with true geometry returns control precision almost at once. Do not grudge one replacement only to keep repairing over and over.
How to choose a replacement hydraulic cylinder?
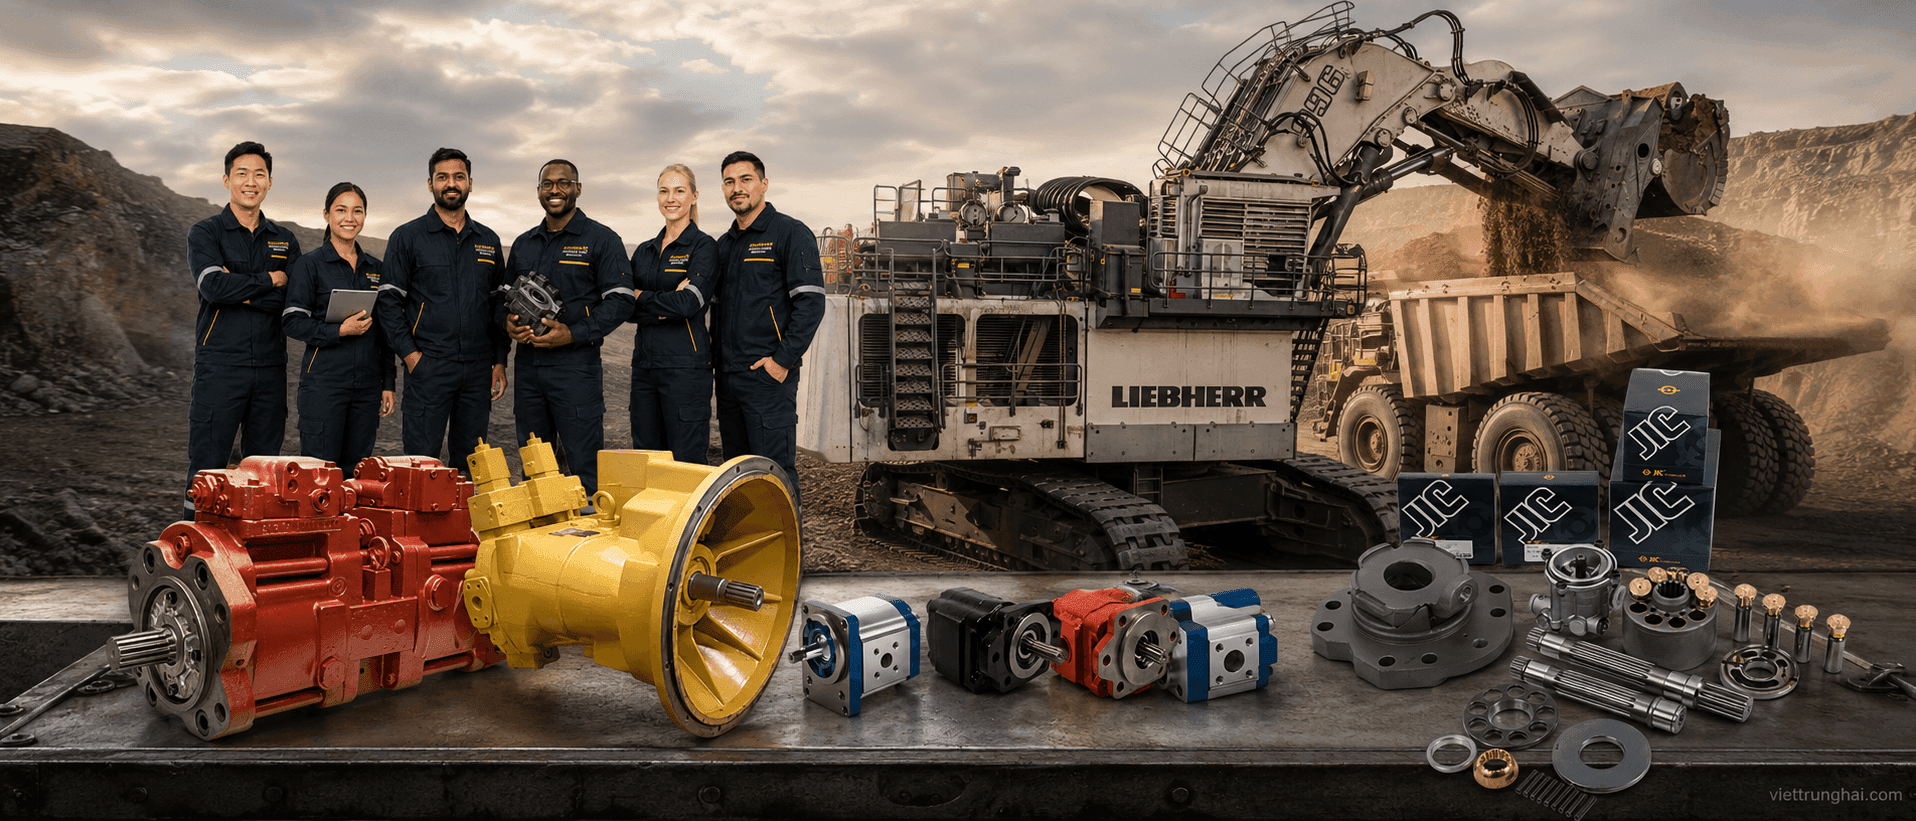
For the cylinders and pump cartridges feeding oil to the front end, machining quality decides the sealing and service life. The JIC Hydraulics line VTH distributes is chosen for material, machining accuracy and warranty terms, suited to machines running heavy loads non-stop. Paired with a good seal kit, one repair holds up long and rarely calls you back. If you need advice on the right assembly for your machine's model, call VTH for an inspection and a clear plan. Choosing right from the start is the most durable way to save.
Key takeaways
- The boom lifts, the arm reaches and pulls, the bucket digs and dumps; all link by pins and run on cylinders.
- The bushing is a planned wear layer; replace it on time to save the pin bore from reaming out.
- Pins and bushings wear fast from too little grease, dirty sand and prolonged off-center load.
- Cracks favor the cylinder ears, pin bores and welds; inspect at shift start to catch them early.
- Grease until clean old grease pushes out to drive sand and dirty water away.
- Pick parts by material and accuracy; cheap but short-lived works out expensive.
Written by
Phạm Đức Thắng
Phạm Đức Thắng focuses on the undercarriage, tracks and the travel and swing systems of excavators. He writes about how these systems are built, travel and swing motors, and protecting the undercarriage from wear.
Related parts
The exact parts discussed above — send your machine model or pump code to match.